Bonsai Focus

I have been working with local Bonsai Professional Michael Hagedorn to develop a line of Bonsai stands. Those stands are now on view in the current issue of Bonsai Focus. Check out the magazine for the whole story: http://www.bonsaifocus.com/

Also visit Michael Hagedorn's sight: http://crataegus.com/

Now here are some pictures of stands.


The little one gets legs too.

The little one is taller and lighter so I went with a more elegant leg in the spirit of the legs for the coffee table.

I had to make segmented turnings for the base of these legs in order to orientate the grain correctly for turning.

A small blank of maple burl is cut to make a nice little box


As before the blanks are roughed out and then the capital and base are added before turning again.


And, as before, the results are worth it. 


Three more to go.


Moving on up.

Now time for some legs. Starts with a large 6" square blank of Mahogany. That is then made into a tapered octagon on the jointer. A few more steps though before we get a finished leg.


Then the octagon is turned into its basic shape on the lathe


Maple and redwood burl is added to the top and bottom respectively 


The new assembly is turned again into its final form.


Veneer is done.

Left you all hanging on how the base came out, now here are the results.


All the side laminate is now hidden below the veneer. A simple rout around the sides produces wonderful results.

A little rubbing alcohol brings out the flavor. 


A little foot detail in Macassar Ebony gives it enough lift to be picked up reasonably easily, while making the thick base appear more delicate. 


And lets not forget the big piece 


Laminate sides and veneer

Now that the basic structure is created I then need to sheath it in mahogany veneer. I also will be adding a bead of maple burl around the perimeter as an accent.
Here is the coffee table base with the laminated sides on. Three sections of 1/8" mahogany strips with maple burl on top were glued up to the sides to form the bend. 
The small matching side table. I am now applying vertical mahogany veneer to the sides over the laminated sections using the same bending fixtures. 

The radiating spirals for the top of the bases. Once the sides are done this will be glued to the top. At this point the maple burl will be completely covered with mahogany veneer. I will then use a router bit to carve into the maple burl and bring it back out. You'll just have to wait to see the photos. 


Start at the bottom

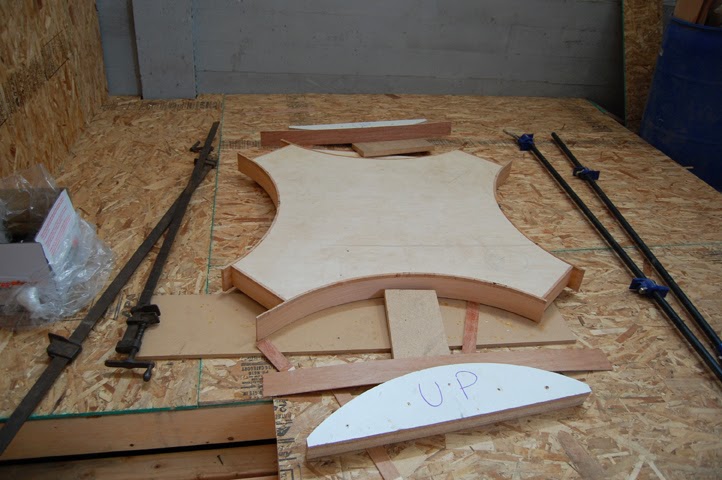
It is always best to start with what you know and get your sea legs before tearing off into deeper waters. With this in mind I started with the bottom of the piece: a simple platform with concave sides. Simple in theory except for the fact that if made from solid wood it would be unmovable. So I made a grid pattern to strengthen the inside yet still leave the piece light, know as a torsion box.
sandwiching the torsion box onto the bottom of the base.


I then added 2" of particle board around the edges and routed to match the bottom template. 

quite the mess.


I then sandwiched on the top sheet of plywood to complete the box. The end result, while still heavy, is surprisingly light for its mass and is strong as steal. 


A design

Here is the approved design for the coffee table:

The piece is to be made from African Mahogany and Maple Burl. I believe the darker brown of the African Mahogany will compliment the maple well.